Showing posts with label Crafts. Show all posts

Countdown to Baby!

I am excited to add a new item to my Etsy Store!
My cute little sister and I have created these
"Countdowns to Baby" for shirts and/or frames!


There are 5 designs to choose from and 
there are three ways you can purchase them.


1) Purchase ALL FIVE digital files HERE
2) Purchase one design of your choice; 
printed either in Iron-On paper for shirts or laminated for starting at $1.99


I'd love to hear your thoughts and suggestions! 
Thank you for stopping by!


- Wowser Wednesdays: Extended Family Scrapbook -

One of my new favorite blogs is Live, Craft, Eat.
She has tons of great ideas, but she recently shared this fabulous idea to make an  

easy dividers for a DIY family scrapbook

Using a binder, sheet protectors and printed yearly pages,
she creates a simple and cute way to store all those photos and cards you get from family.

how to make a family scrapbook on the cheap

Check out her post here.

Be sure to come back this Friday and I'll share some free printables to create your own
Extended Family Scrapbook!

Distressing Ink for Pennies

https://blogger.googleusercontent.com/img/b/R29vZ2xl/AVvXsEhPRSQ3Ey17NbJaYy4YJQpNysHRFprpHH04BNh9T2xxMoFNiGfnbYvOi3jV5Vuq5A7ly239CS9Hom73niShk0WjWdsqldD2XZCojxkPagrsheHZtt6znchr2ONuyGI7QblU3moYZJpyD8s/s1600/Border.jpg
I love distressing edges on cards, shelves, crafts, etc.
I had made up a way to get that distressed look
before I realized that you could buy
distressing ink pads at the craft stores.

I finally decided to purchase a few,
thinking that it would make distressing so much easier.
I was completely shocked how much the
tiny ink pads cost but still bought a few.


After using the ink pads,
I realized that they didn't make it
any easier in my opinion...
if anything it was more difficult.

So I'm back to my old way of distressing edges
and wanted to show you how I do it!

I just use cheap acrylic paint
that you can get 3 for $1 when it goes on sale.
I love using black, brown, and white, 
depending on the project.

Next you'll need a paper towel and some Q tips.
I get the paper towel BARELY wet,
however, you can also use it dry.
Having it wet makes the paint go a little farther
and on a little more smooth.


Wrap a part of the paper towel around your finger
and barely dip it in some paint.


Dab it on a paper to get the excess paint off
and then lightly wipe it along any edge.


Wipe lightly at first but as the paint comes off,
you can get a little more aggressive
with rubbing before you're ready for more paint.


I like to keep a few wet Q tips handy
because you can either
remove paint quickly with them if you don't like it
(which is another bonus using this technique over
the distressing ink pads...)
or just rub the paint and work it in a little better.


This costs pennies and I like the look
and technique a lot better because it
allows for changes and lets me fix mistakes.


Pin It

Hope this helps and thanks for stopping by!
I'd love to hear your own distressing edges secrets and tips!


Fake Makeup for $6

https://blogger.googleusercontent.com/img/b/R29vZ2xl/AVvXsEhPRSQ3Ey17NbJaYy4YJQpNysHRFprpHH04BNh9T2xxMoFNiGfnbYvOi3jV5Vuq5A7ly239CS9Hom73niShk0WjWdsqldD2XZCojxkPagrsheHZtt6znchr2ONuyGI7QblU3moYZJpyD8s/s1600/Border.jpg
So my little girl loves to copy mommy,
which includes putting on make-up.
I looked in the stores and honestly
couldn't find any fake make-up I liked for under $10.

I mentioned it as the perfect Christmas gift
and my amazing sister-in-law made a set like this!


It was perfect and she loved it!
But then one day she noticed
that mine "looked" different.
I'm sure I'm not the only one that has
given a child a toy to copy mommy's;
and they realize that it's not the same
and therefore they STILL want mommy's.

Then I found this post.


And here's what I did!

Pin It
Since I didn't have any empty makeup containers,
I went to my local dollar store and purchased
a few items, a long with a few fingernail polishes.
Here's how I made each one...

  • Chip out make-up from eyeshadow container and wash
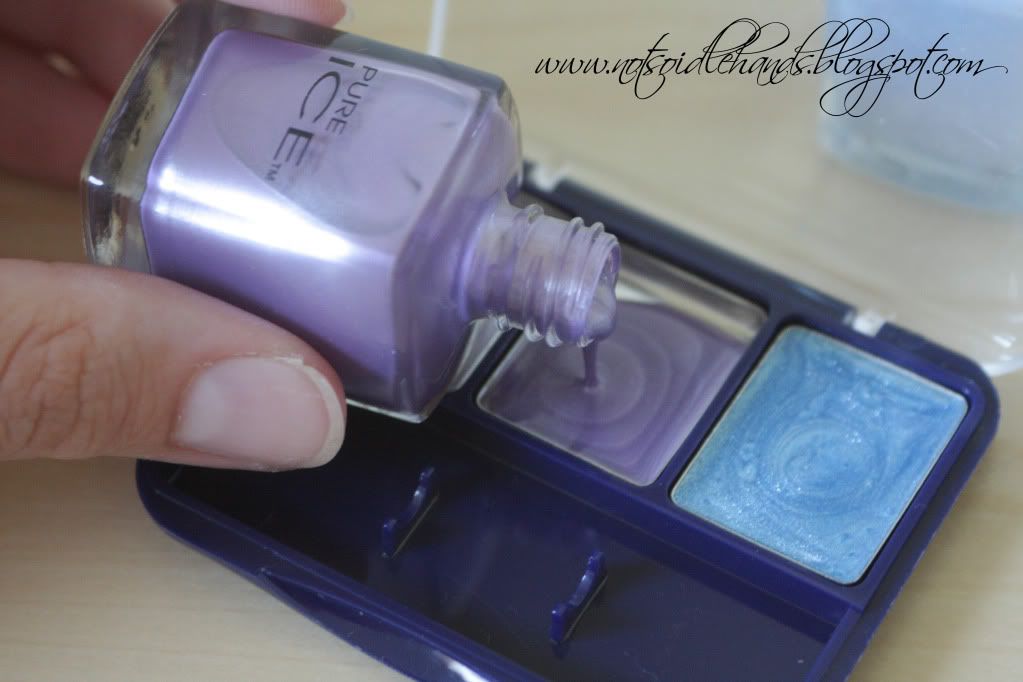
  • Pour in enough fingernail polish to cover the bottom of each dish
  • Let dry for at least 24 hours 

  • Pour out as much fingernail polish as you can
  • Once mostly empty, fill bottle with fingernail polish remover and shake vigorously
  • Pour contents out of bottle and run hot water inside
  • Continue steps 2 and 3 until water runs clear from bottle
  • Rub brush with fingernail polish remover to make it soft again
  • Let dry for at least 24 hours so any leftover polish will harden

  • Chip make-up from blush container and wash
  • Pour in enough fingernail polish to cover the bottom
  • Let dry for at least 24 hours

  • Roll chapstick all the way up so you can completely remove the waxy chapstick
  • Wash out container and roll it all the way back down
  • Fill chapstick container to the top with hot glue; let dry at least 24 hours
  • Paint a thin amount of fingernail polish across the top of the hot glue; let dry another 24 hours
  • TIP: We taped the bottom of the chapstick so it can no longer be rolled up

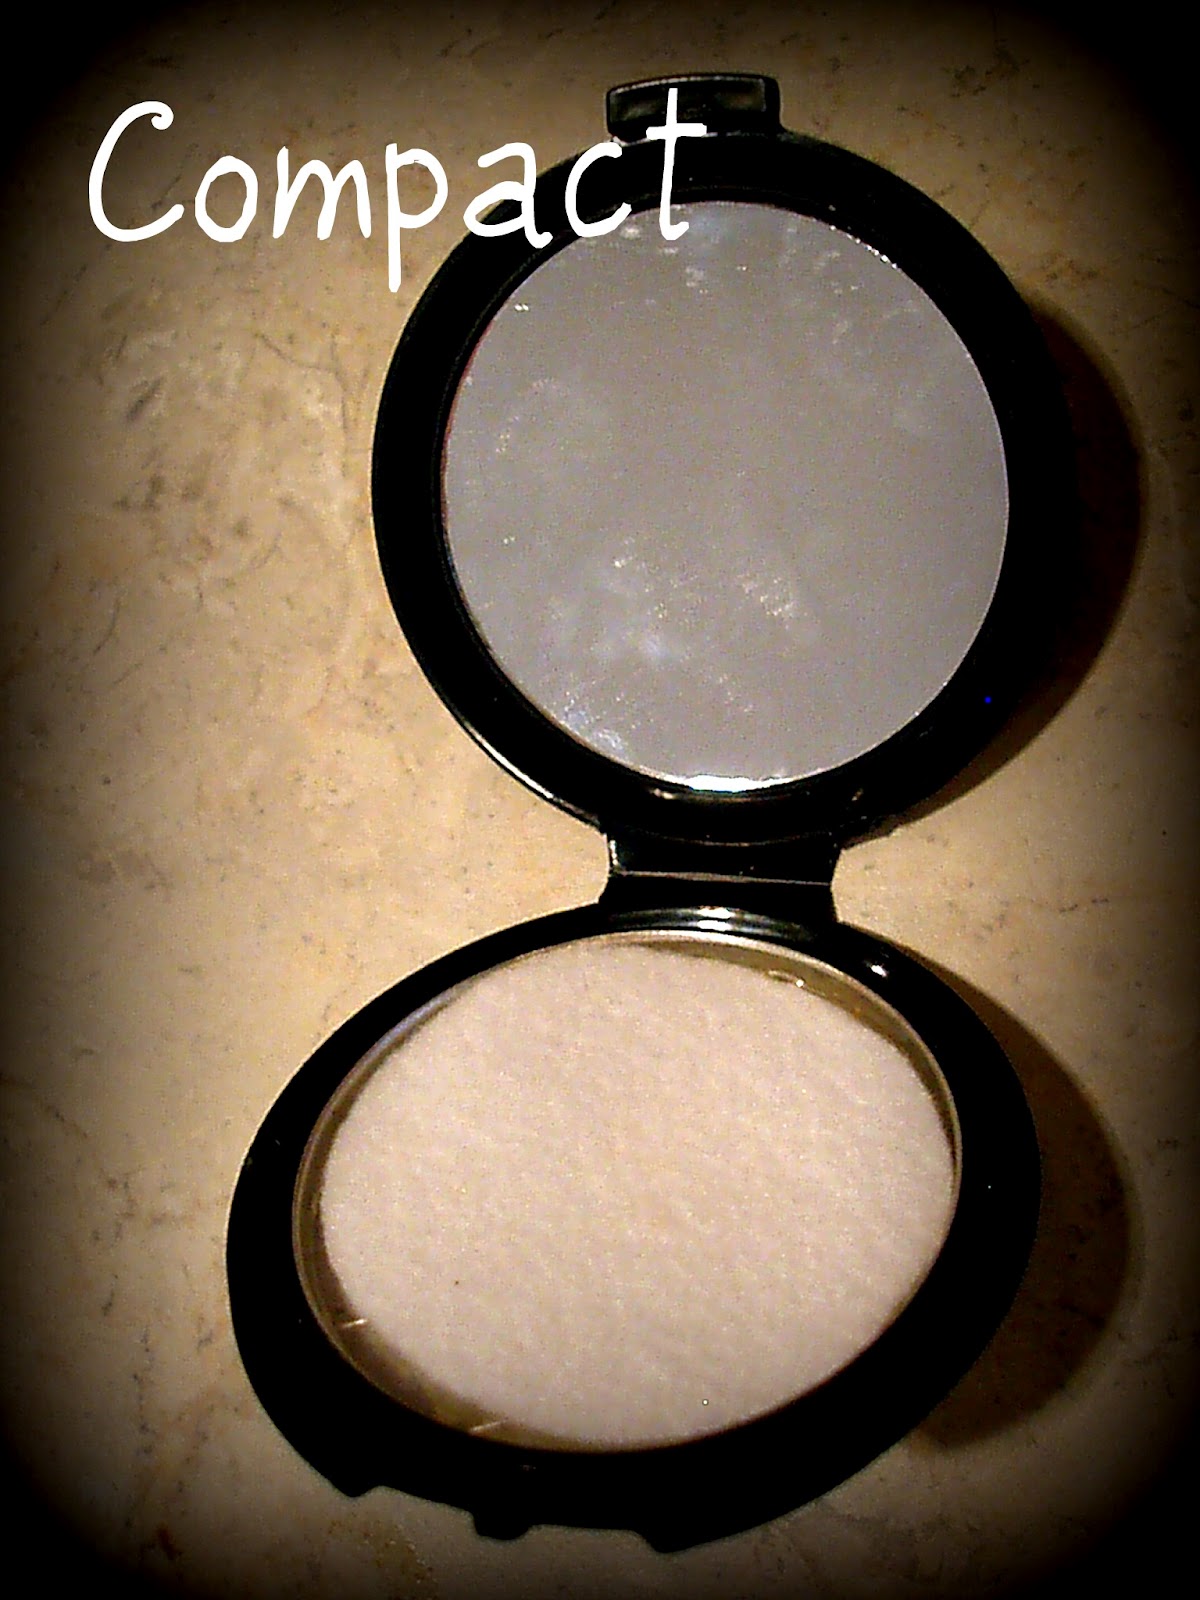
  • Chip any makeup from compact and wash
  • Cut a small circle from fleece or felt as your "powder puff" 


I have to mention that my daughter's favorite
item by far is the fingernail polish;
but this fake makeup has done the trick
and we can now {get ready together}
without mommy having to share.

And the best part is,
making this didn't even use all the fingernail polish
so now I have three fun colors for myself!

Thanks for stopping by!
I'd love to hear what you think!


Easy Christmas Trains

https://blogger.googleusercontent.com/img/b/R29vZ2xl/AVvXsEhPRSQ3Ey17NbJaYy4YJQpNysHRFprpHH04BNh9T2xxMoFNiGfnbYvOi3jV5Vuq5A7ly239CS9Hom73niShk0WjWdsqldD2XZCojxkPagrsheHZtt6znchr2ONuyGI7QblU3moYZJpyD8s/s1600/Border.jpg
Every year since I've been married,
we've attempted to make Gingerbread Houses.
Every year,
they fall apart before I'm finished.
(Someone told this year the secret is hot glue...)

But then I heard about making Candy Trains
and I decided to give it a go this year.
My opinion? Fun, easy, and a much better activity for our family;
especially with a one year old.
Pin It 
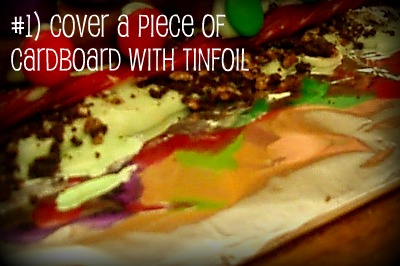
Here's how we made ours:
Here's what we used to help give you some ideas.
...or use a paper plate or something sturdy.


Loved this activity!
Makes an easy last minute activity
to do with the kids.

Enjoy and thanks for stopping by!

DIY Glitter - Um, No!

https://blogger.googleusercontent.com/img/b/R29vZ2xl/AVvXsEhPRSQ3Ey17NbJaYy4YJQpNysHRFprpHH04BNh9T2xxMoFNiGfnbYvOi3jV5Vuq5A7ly239CS9Hom73niShk0WjWdsqldD2XZCojxkPagrsheHZtt6znchr2ONuyGI7QblU3moYZJpyD8s/s1600/Border.jpg
So have any of you seen this on Pinterest?

Make Your Own Glitter out of Tin Foil!
Pinned Image

I thought it seemed like a neat idea
so I tried making some.

You need: 1/4 salt, 1/2 t. food coloring, tin foil and baking sheet.

Preheat oven to 350 degrees.

Side Note: Notice my salt jar! I LOVE this idea from Pinterest.
{Click Here to see how}

This used up almost all my green food coloring.

Put salt and food coloring in a "stain-proof" bowl.

Mix until all the salt is evenly colored.

Spread evenly on a cookie sheet lined with tin foil and bake for 10 minutes.
Stains REALLY bad by the way!

Finished product compared to actual glitter.

Overall, I would never make this again.
It basically looks like colored sand when it's finished.
I want the shiny sparkle that comes from actual glitter.
If that's what you like too,
then this isn't the project for you.

Thanks for stopping by and I'd love to hear your comments on this!
Pin It button on image hover